In the previousblog posts, we learned how to run a django app with Nginx, Gunicorn and Supervisord. Now, let's make a django app available to everybody by deploying it to a DigitalOcean server.
You will need a DigitalOcean account to follow along.
For this tutorial, I have prepared a sample django app in order to simulate a real scenario. It is just a fun app which shows Donald Trump with his random quotes which can even be personalized. The app makes use of the whatdoestrumpthink API. Please note that we are going to do almost the same stuff that we did in the previous tutorials except that we will use a real server.
Let's get started!
Step I (creating a VPS)
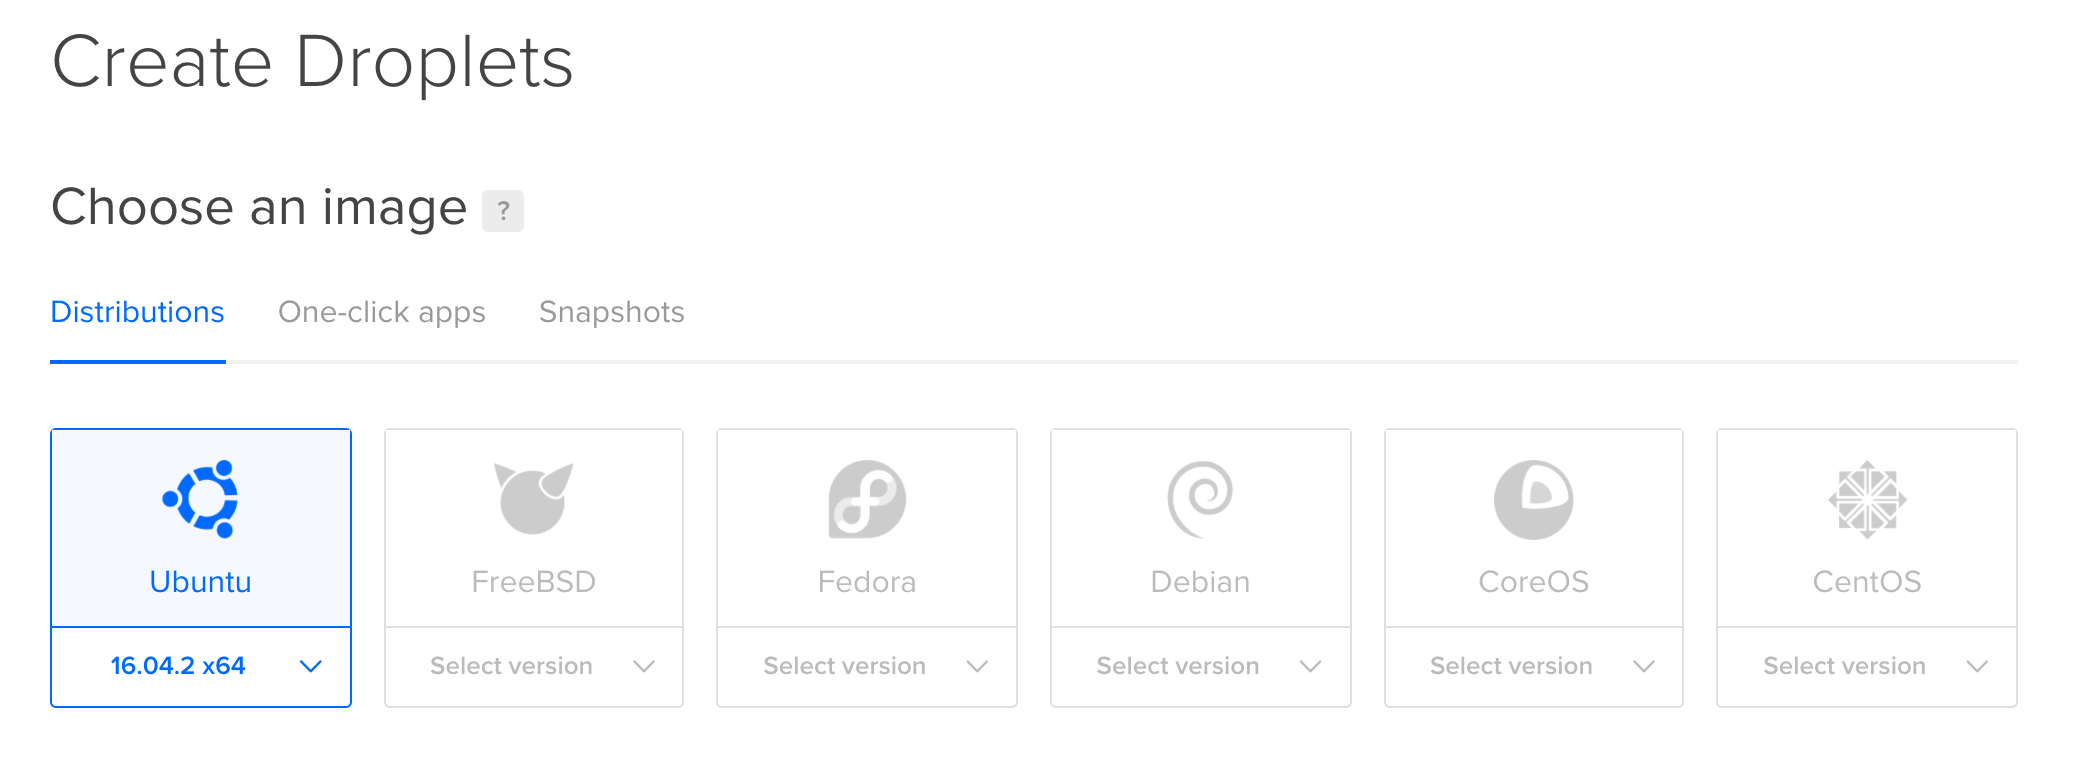
Go to https://cloud.digitalocean.com/droplets and click on Create Droplet button. Then, select Ubuntu 16.04:
Select a server:
Select a region:
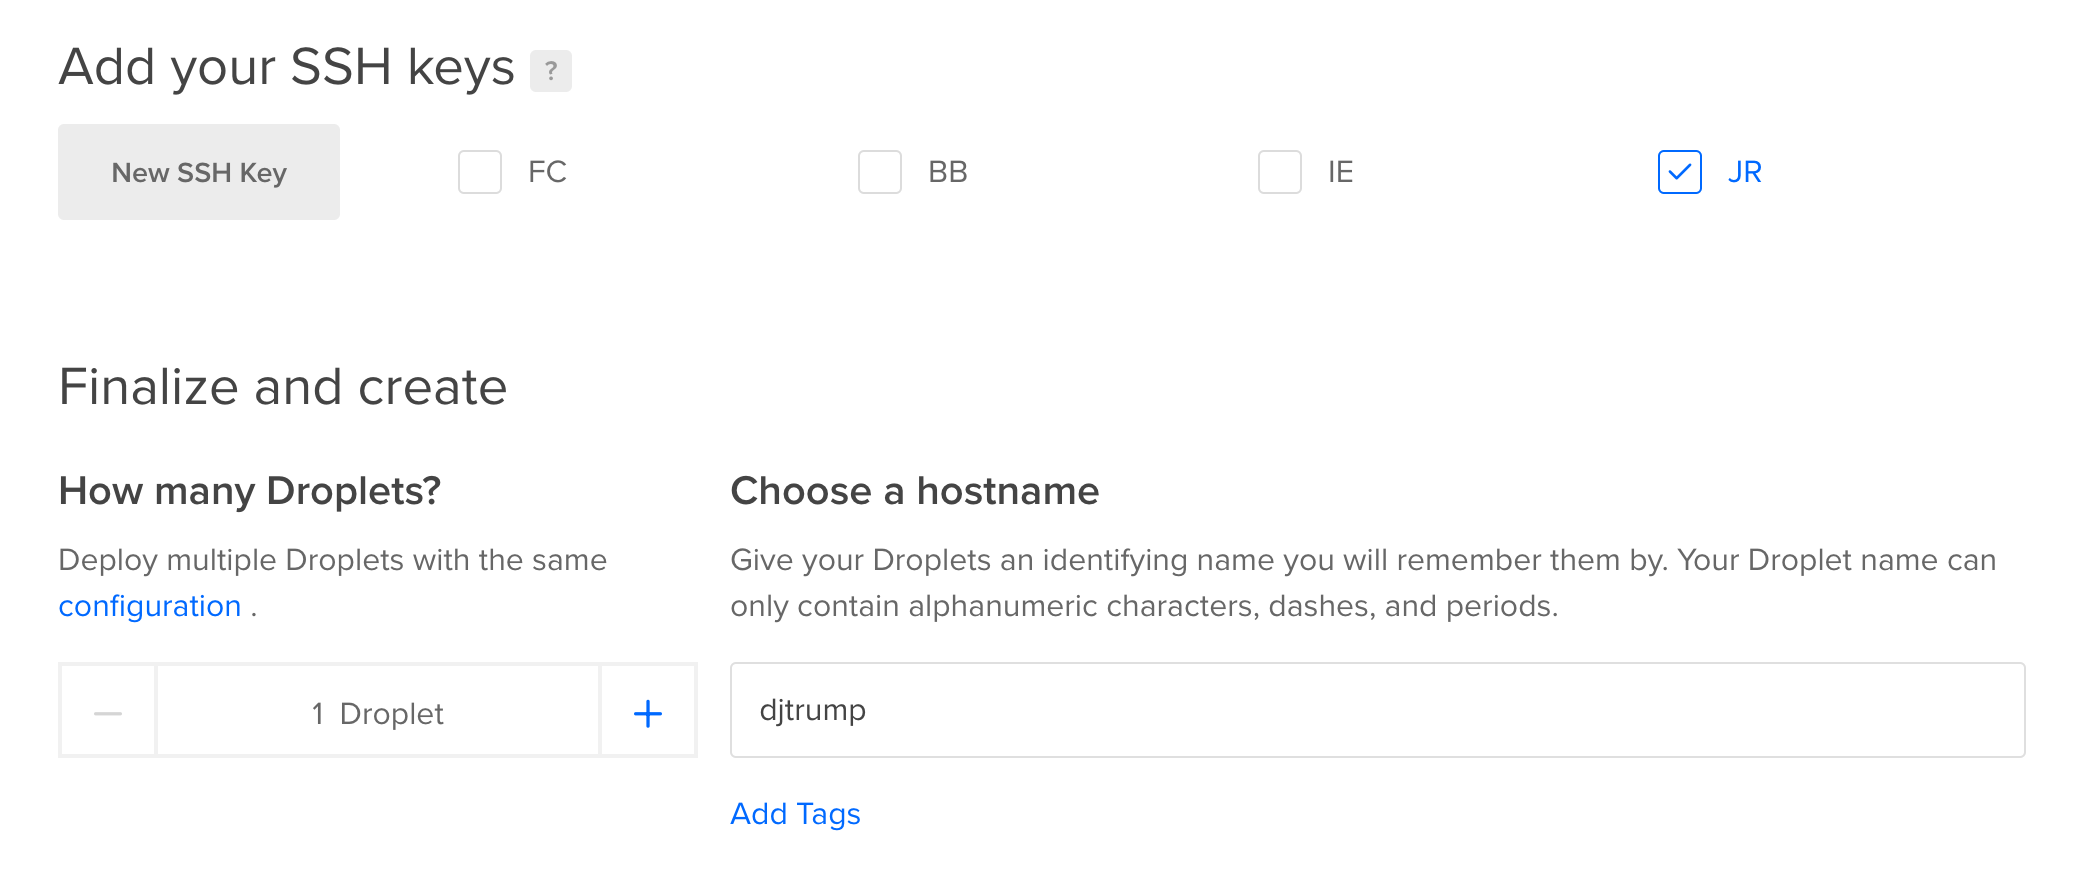
Then, preferably add you ssh key and name your server:
And click on Create. After a while, you will see that your server has been created:
Now, copy the IP address of the newly created server and ssh in:
ssh root@104.236.57.112
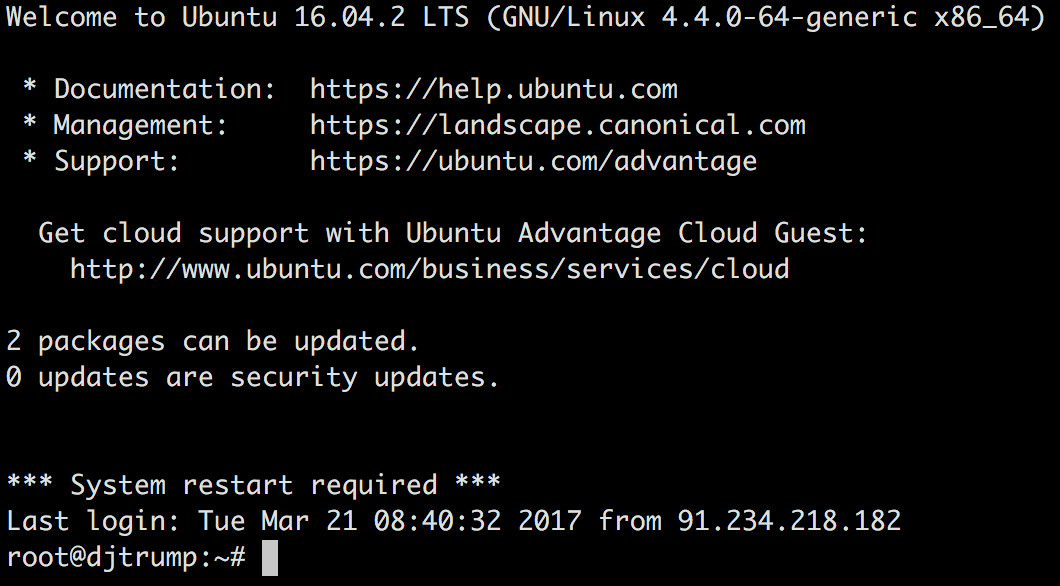
Replace that IP address with your own. Welcome in! You should see something like this:
Step II (installing system-wide dependencies)
First, let's update and upgrade the packages:
apt-get update
apt-get -y upgrade
Install nginx:
apt-get install -y nginx
Install supervisor:
apt-get install -y supervisor
Install python virtualenv:
apt-get install -y python-virtualenv
Install postgresql:
apt-get install -y postgresql postgresql-contrib
Step III (configuring database)
Switch to the postgres user:
sudo su - postgres
Type this to go to the postgres interactive shell:
psql
Create a database:
postgres=# CREATE DATABASE djtrumpprod;
Create a user:
postgres=# CREATE USER djtrumpuser WITH password 'djtrump';
Give this new user an access to administer the new database:
postgres=# GRANT ALL PRIVILEGES ON DATABASE djtrumpprod TO djtrumpuser;
Quit from the shell and switch back to the root user:
postgres=# \q
postgres@djtrump:~$ exit
Step IV (setting up our project and its environment)
Clone our sample app:
git clone https://github.com/rahmonov/djtrump.git
Create and activate a virtual environment with python3.5 (not critical to use python3.5 though):
virtualenv djtrumpenv --python=$(which python3.5)
source djtrumpenv/bin/active
Now, your prompt will show that you are operating under a Python virtual environment:
(djtrumpenv) root@djtrump:~#
Go ahead and install dependencies:
cd djtrump
pip install -r requirements.txt
Now we should migrate but there is one more thing that we need to do before that. If you go to the settings folder, there are two files: base.py and prod.py. Basically, base.py contains all the configurations and prod.py overrides those needed in the production environment. For example, DATABASES config is overridden in prod.py. That's why, we need to tell our environment to use this prod.py and not the default base.py. This is done by setting DJANGO_SETTINGS_MODULE env variable to prod.py path. Open ~/.bash_profile and add this:
export DJANGO_SETTINGS_MODULE=djtrump.settings.prod
Save and quit. Then, source this file for our changes to take effect:
source ~/.bash_profile
Now, try to migrate. Most probably, it will fail and say something like this:
FATAL: Peer authentication failed for user "djtrumpuser"
That's because, postgresl uses peer authentication by default, which is it will succeed if the user with the same name as the postgres user uses it. In our case, there is no djtrumpuser user in postgres and thus it fails. To fix it, go to /etc/postgresql/9.5/main/pg_hba.conf and change the line that says this:
local all all peer
to this:
local all all md5
Save and quit. This way, postgres will try to use password to authenticate the user. Now, restart postgresql for our changes to take effect:
sudo service postgresl restart
Go ahead and migrate:
python manage.py migrate
It works now. Cool! Try to run the development server and it will work.
Step V (configuring nginx)
Create a new file: /etc/nginx/sites-available/djtrump and add the following:
server {
    listen 80;
    server_name your_ip;

    location = /favicon.ico { access_log off; log_not_found off; }

    location /static/ {
            alias /root/djtrump/static/;
    }

    location / {
            include proxy_params;
            proxy_pass http://your_ip:8030;
    }
}
Replace your_ip with the IP address of your server. We know what this is doing from the previous tutorials. Basically, it is serving the static files from /root/djtrump/static/ and redirecting http requests to gunicorn which should be running on port 8030.
Now, let's enable this file by linking it to the sites-enabled folder:
sudo ln -s /etc/nginx/sites-available/djtrump /etc/nginx/sites-enabled
Restart nginx:
sudo service nginx restart
There are two more things that we need to do before nginx works. First, we need to put all our static files in the folder /root/djtrump/static/ and run gunicorn on port 8030 as we promised in nginx config file.
First, run this to gather all static files in that folder:
python manage.py collectstatic --noinput
Now, run gunicorn:
gunicorn --workers 3 --bind 0.0.0.0:8030 djtrump.wsgi
Go ahead and type in the browser the IP of your address. You will see that the app is running. Congratulations!
Please note that if you cloned the app to the user's home directory, you may face issues with static files (Permission denied error). One of the ways to solve it to run nginx as root. To do that, open /etc/nginx/nginx.conf and change the line that says:
user www-data;
to this:
user root;
and restart the nginx:
sudo service nginx restart
Great! You will now see the pleasant face of Donald Trump and a random quote of his:
Step VI (configuring supervisor)
Create /etc/supervisor/conf.d/djtrump.conf and type in the following:
[program:djtrump]
command=/root/djtrumpenv/bin/gunicorn --workers 3 --bind 0.0.0.0:8030 djtrump.wsgi
directory=/root/djtrump
autostart=true
autorestart=true
stderr_logfile=/var/log/djtrump.err.log
stdout_logfile=/var/log/djtrump.out.log
Restart, reread and update the supervisor:
sudo service supervisor restart
sudo supervisorctl reread
sudo supervisorctl update
Now, you can stop, start and restart your app easily! Try this:
sudo supervisorctl stop djtrump
If you go to the app in the browser, it will respond with 502 (Bad Gateway) response. Go ahead and start it:
sudo supervisorctl start djtrump
Go to the app and you will see it working!
Well, this is pretty much it! Congratulations, your django app is now live and available to everybody!
In the next tutorials, we will introduce ourselves to the world of CI and CD (Continuous Integration and Continuous Delivery).
Fight on!
P.S. If you want to make the style of this app better, please send a PR. I would love some help on CSS side or any other side for that matter.


